Must-Try Fashionable Ombre Nails In 2022
Apr 25, 2022
iCrowdMarketing powered by iCrowdNewswire
Ombre nails are the best way to rock a manicure without necessarily having to be specific on the nail design. The wide range of fades for ombre designs caters to the needs of everyone. Ombre nail designs are executive and at the same time very easy to wear despite the complex look they possess.If you like to do your own nails, then ombre is not an exception nails design to do at home. The following is a procedure on how to do your ombre nails at home;
1. Preparation
This involves collecting and assembling the items that you need. Some of the items that you require are;
- Nail polish
- A sheet of paper
- Nail sponge
- Basecoat
- Vaseline
2. Do the base coat
Clean your nails first. Apply a base coat of your choice on the nails. The base coat prolongs the lifespan of the manicure by holding the nail polish on your nails. To avoid getting polish all over your fingers, apply Vaseline to the area around your nails.
3. Apply the polish
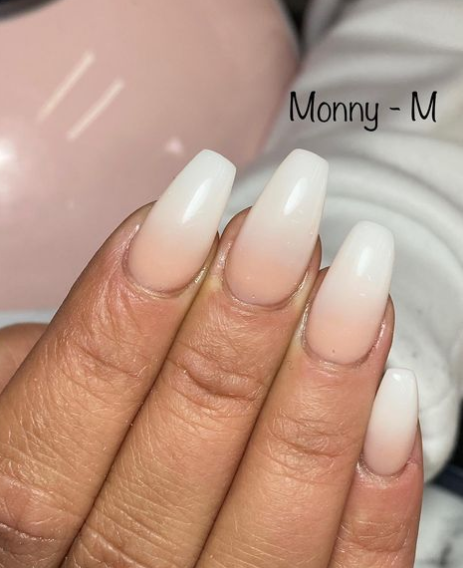
Once the topcoat has dried, apply a light shade of the nail polish you chose as your base. It is advisable that if you want a more vibrant ombre nail look, you use white nail polish as your base. This is because a white nail polish mixes well with all colors giving your nails a soft and fashionable look.
4. Create a gradient
Using a darker shade of your nail polish, make straight and horizontal lines side by side slightly overlapping them on a tiny piece of paper. Repeat the procedure using two or three different nail polish colors. You can use light or dark shades depending on the look that you want.
5. Stamp the polish
This is done by gently pressing the nail sponge on the tiny pieces of paper that are already covered by nail polish. Carefully remove the sheets of paper and then stamp the polish with the nail sponge. Roll the sponge repeatedly in sideways motions to blend the gradient and to ensure that you get the desired color shade.
6. Do the finishing
The ombre nails are finished by applying a topcoat. This ensures that your colors are locked in prolonging the expectancy of your manicure.
The following are some of the ombre nail looks that you can try out this year;
a. Midnight skies
These are ombre nail designs made using a black and grey color combination. These two colors give your nails a sexy milky look. A glitter top polish is a perfect combination for the midnight sky ombre nails.
b. Matte mountains
This look is created using black and white acrylic paint. The two colors give your nails snow and hues of misty mountains. The nail polish does not necessarily have to be acrylic as matte black and white polish can also work.
c. Speckled accent ombre nail design
The shade of these nails is usually yellow or orange. This look is very great on short nails. Apply a shiny topcoat to finish off the nails perfectly.
d. Rose gold ombre nails
Gold brings out a fancy and wild look to your nails. Gold not only brings out a classic and elegant look for your nails, but it also keeps your nails looking more natural.
e. Orange ombre nail design
In order to achieve the perfect orange shade for your nails, you need to combine different shades of orange color. The most common orange shades you can use are, peach, pumpkin, apricot, and flame.
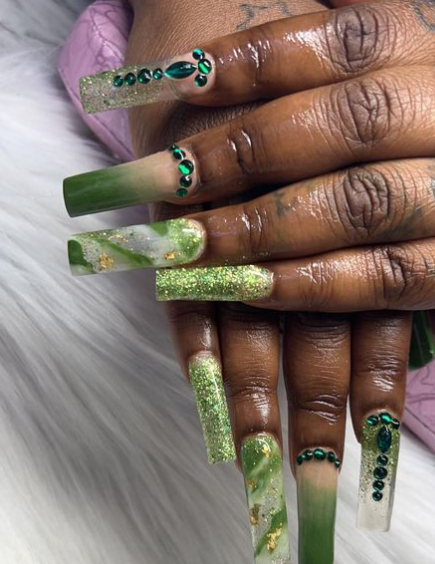
f. Neon ombre nails
If you like to stand out, then you can go wild with the neon color for your nails. Neon involves different shades of different colors starting from pink to blue to green and even orange. You can choose to have different colors on one nail or chose a different color for each nail.
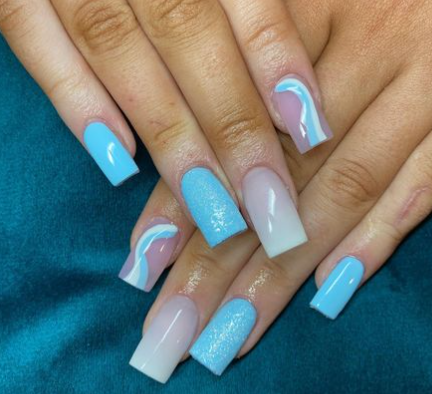
g. Cotton candy ombre nail design
Just like the name suggests, these nails bring out the cotton candy vibes. They are made using different shades of pink and blue.