Guide On How to Do Ombre Nails
Sep 16, 2022
iCrowdMarketing powered by iCrowdNewswire
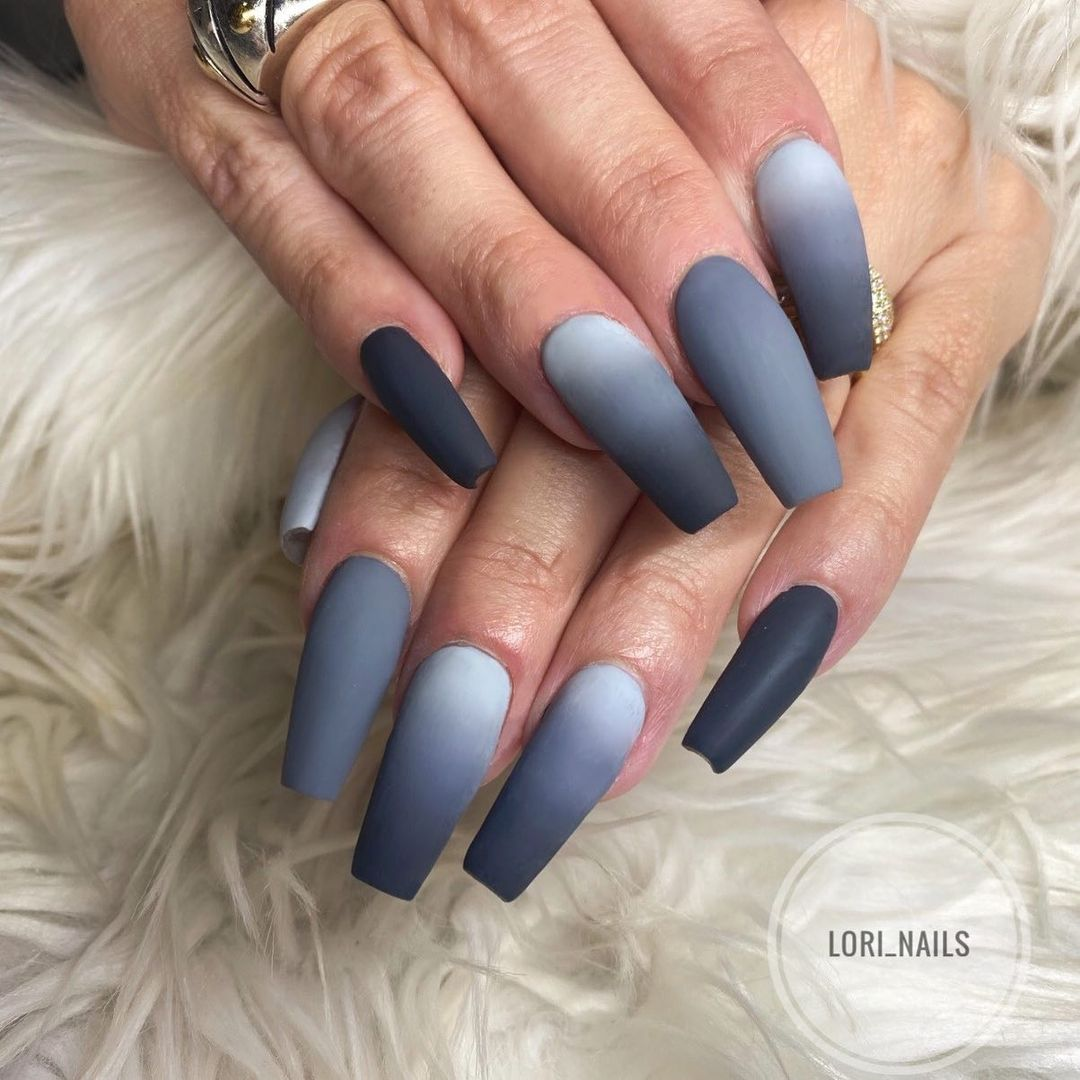
Ombre nails feature a color gradient where a light color smoothly lends into a heavy color as you move from the cuticles to the tip of the nail. Getting the required skills to do your own ombre manicure may take time and patience.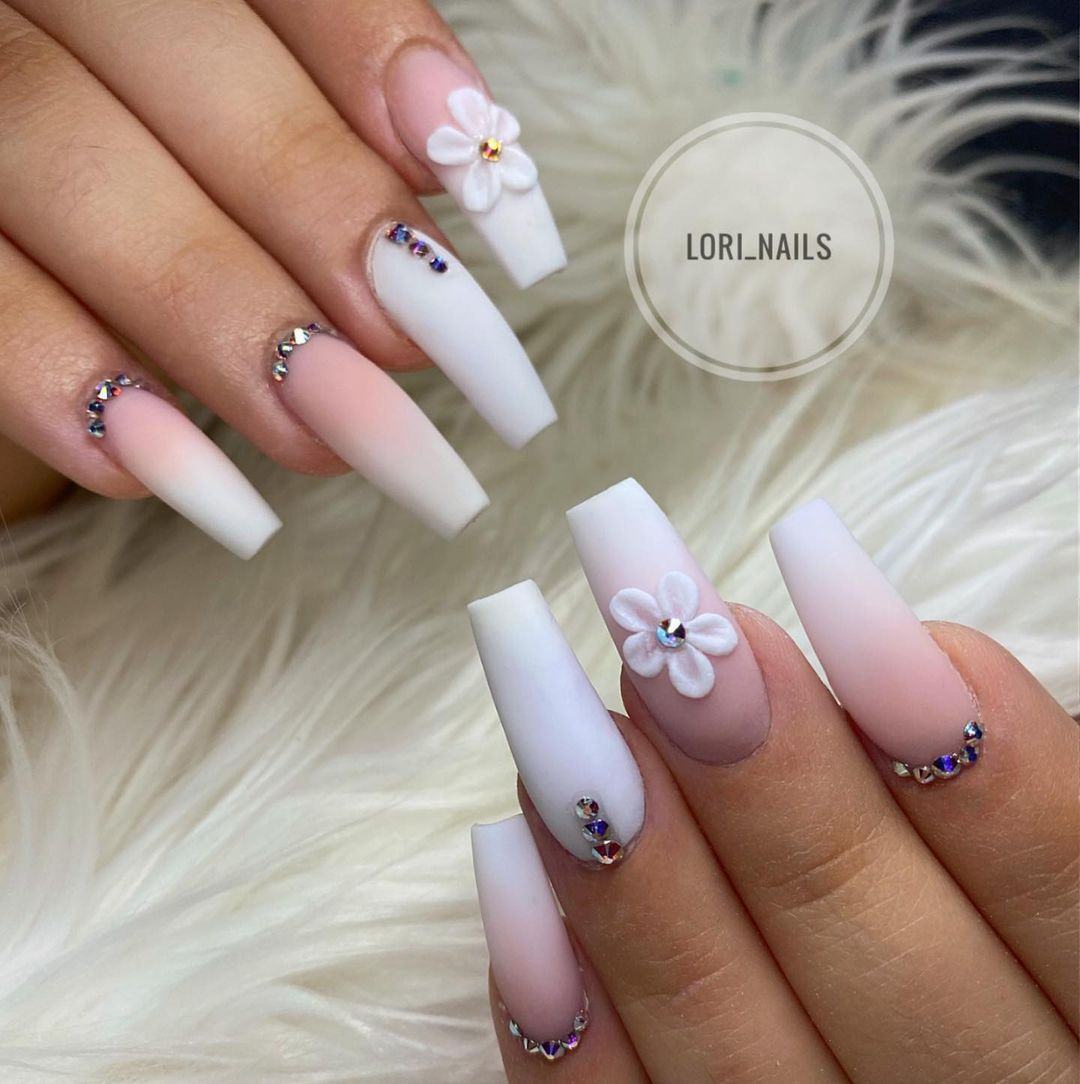
However, if you are creative and willing to learn, you can always figure out how to do the manicure within a short period. Here is a guide on what you need to do when doing ombre nails by yourself for perfect results.
1. Cleaning your nails and hands in general
Sometimes your nails hold a lot of dirt which you don’t even notice is there by looking at them. This dirt can interfere with the results of your manicure, and it's best if it gets out of the way by cleaning your nails.
Cleaning nails also involves removing the existing polish and acrylic nails if you have any. You should use a polish remover and a cotton ball to remove nail polish.
Old existing nails are removed by soaking them in acetone until they melt off. Forcing them without soaking will only cause hurt and can even destroy your natural nails.
The next step under cleaning involves trimming your nails to the desired length and pushing back the cuticles. You also require to use a file for the removal of rough edges and shaping the nail.
2. Application of a clear base coat
All manicures start with applying a clear base coat, which is not an exception for ombre nails.
A basecoat is important because it protects your nails from polish staining and adds thickness to your manicure. A clear base also helps decrease the impact of any chips on your nail on the polish texture.
3. Application of base color coat
To bring out the ombre effect on your manicure, the base color coat should be white or any other light color of your choice. A white base coat makes the manicure vibrant, and using other lighter colors gives the polish a subtle and soft impact on the ombre manicure.
The background color you choose should be used for all the nails to create uniformity in the final appearance of the manicure.
If you want the base to be more opaque, you can paint two layers of the base color. This is done by painting the first layer and letting it dry first before applying the next layer. Painting a thin and heavy coat helps your nails dry faster.
4. Paint your ombre colors onto a makeup sponge
Take a makeup sponge and paint the ombre colors you intend to use straight and horizontal. When doing so, you should make sure the sponge width painted is the same as that of your nail.
Ensure that the color is painted next to each other with no sponge space between them. You should also ensure that the color painted on the sponge is wet enough to be stamped onto your nails. To ensure the polish is wet, you can paint a couple of coats to make it hard to dry.
Two or three colors are enough for ombre nails, but there is no limitation if you want to have fun exploring with different colors.
Dipping the sponge in water helps minimize the amount of polish absorbed by the sponge and prevents the sponge from drying out.
5. Stamping the polish onto your nails
This is done by turning the makeup sponge upside down and pressing it on the nails repetitively.
You should lift the sponge occasionally to confirm if the shading has reached your desired effect.
6. Rolling the polish onto your nails
This step helps to darken the polish while increasing the ombre effect, which is key for ombre nails manicure. It is done repeatedly until the polish is dark enough.
7. Application of the top coat
This is done after your ombre nails are well dried. Using two layers of the top coat helps smoothen your nails and make them appealingly shiny.
The smoothing effect is necessary because the initial rolling of the makeup sponge makes the nails bumpy.