The Procedure For Wearing Acrylic Nails
Sep 03, 2022
iCrowdMarketing powered by iCrowdNewswire
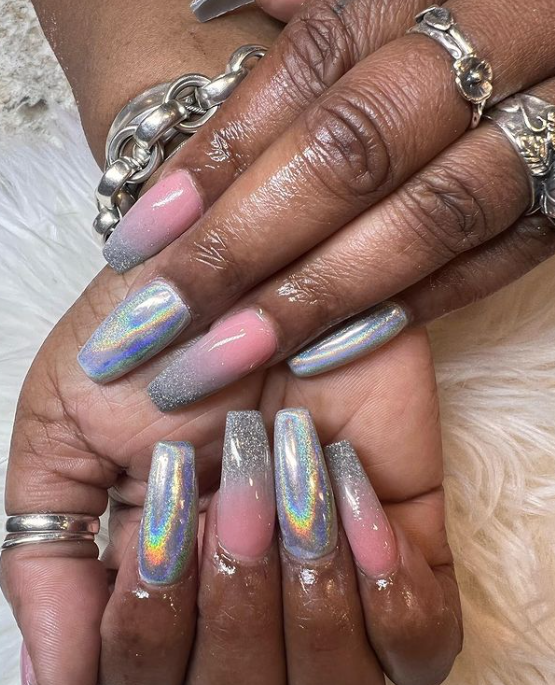
https://www.instagram.com/p/Ch7U80pLSI3/
You can do your acrylic nails at home if you love being independent or you don’t have enough time to visit the salon. Doing this only requires you to be careful and patient as you learn with practice. You will only need the right equipment and supplies to be able to do your nails at home.
Doing your nails seems complex, but with enough practice, you can be perfect as anyone else. Here is a simple guide on doing acrylic nails at home.
1. Buying the Nail Supplies and Equipment
You cannot do your own nails if you don’t have the necessary equipment and supplies to do so. You can get all these from the nearby nail supply shop, and if you are a beginner with the equipment, make sure you request their manuals.
For the acrylic nails, you can request the supplier to sell you the acrylic nail kit, which contains everything you will need for the whole process. If there is an instruction you don’t understand in the manual, you can always seek clarification from the supplier or find illustrations on the Internet.

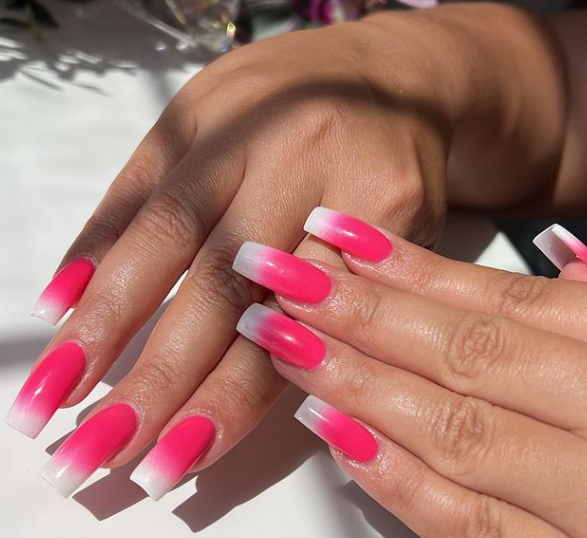
https://www.instagram.com/p/Ch7UCiDB_qC/
2. Preparing Your Nails for the Procedure
This step involves getting rid of any previous nail dos such as old polish using polish remover. If you have old nails, you can get rid of them using acetone. Pushing old nails will only hurt, so the best way to remove them is by soaking the nails in acetone until they peel off on their own.
After that, you should clean your nails by cleaning them with water to get rid of any dirt on their nails.
Once your nails are clean and free of old nail designs, trim your natural nails to help accommodate the acrylic nails. If you want to go for a natural acrylic design, you can trim the nails to a suitable length or simply nail shape them at their current length.
The next step is pushing the cuticles back and treating them if necessary. In these steps, you should also get rid of dead cuticle cells using a cuticle remover.
https://www.instagram.com/p/Ch7XhTouVmI/
3. Applying the Acrylic
This is the most important step as it determines the final look of your acrylic nails. This step begins with finding the right acrylic tip size for each nail. A bit smaller acrylic nail than your natural nail looks better than a bigger one.
Once you have found a nail tip for each finger, you can go ahead and apply nail glue on your natural nail where you attach the acrylic. While doing so, you should be careful not to overspread the glue because it can be hard to get rid of.
The final step in applying acrylic is trimming the acrylic to the desired length and shaping it. Finally, you finish up by painting the attached nail, starting from the base coat to the main design using your color of choice. You can spice up the design by adding art or attaching a sticker on top.